
If you’ve ever wished your scarf could do a little more — stay put, keep your arms warm, and look effortlessly stylish — then a scarf with sleeves crochet pattern is exactly what you need. Also called a sweater scarf or crochet thneed, this cozy wearable is having a serious moment, and the best part? It’s beginner-friendly, works up fast, and gives you a versatile piece you’ll reach for all season long.
In this guide, you’ll find everything you need to get started: materials, stitches, a simple step-by-step pattern, and even tips on how to wear it four different ways.
What Is a Scarf with Sleeves, Exactly?
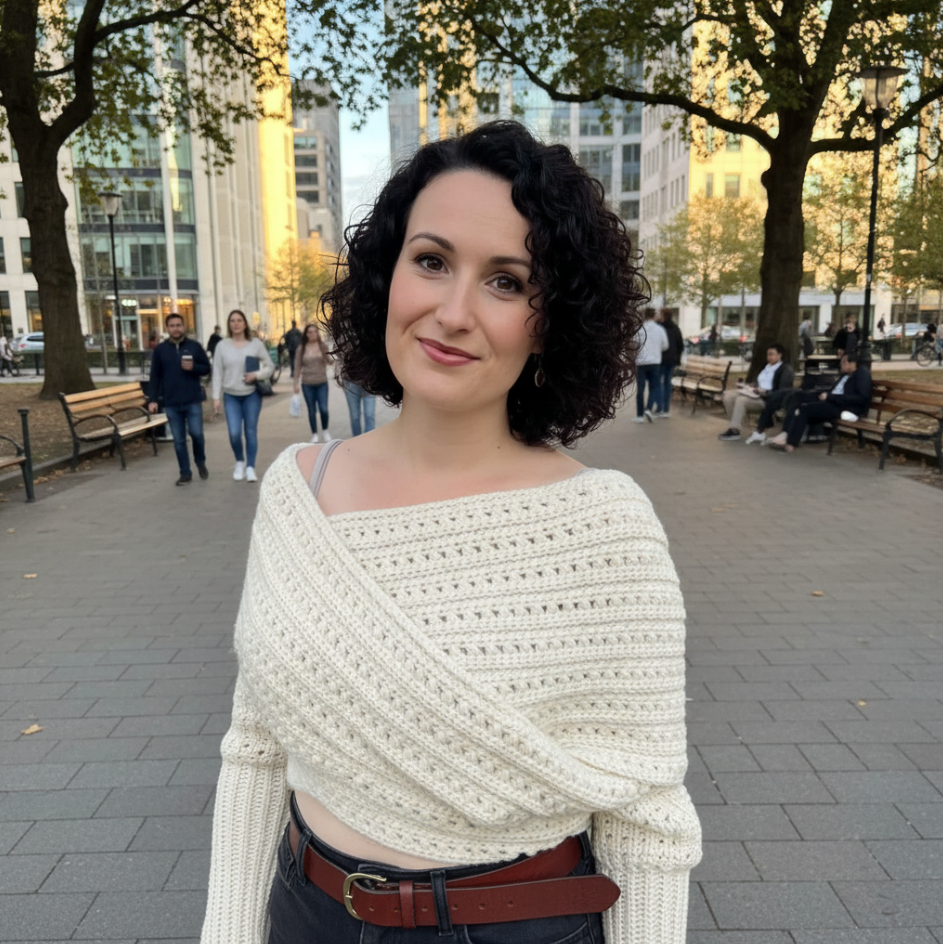
A scarf with sleeves is a long, wide rectangular scarf with an arm opening (or sleeve cuff) sewn or crocheted into each end. The result is a garment you can wear as a traditional scarf, wrap around your shoulders like a shawl, or slip your arms through to turn it into a cozy, sweater-like wrap. It combines the simplicity of a scarf with the wearability of a light sweater.
Why Beginners Love This Pattern
Easier Than a Full Sweater
Crocheting a full sweater involves shaping, armhole construction, and multiple seams. A scarf with sleeves skips all of that. The entire body is worked as one long rectangle — no complicated shaping, no stitch increases or decreases across the main body. You simply crochet straight rows from one end to the other. Then you fold and seam the sleeve ends. That’s it.
Think of it this way: if a sweater is a full home renovation, a scarf with sleeves is hanging a picture frame. Same cozy destination, much simpler journey.
Works Up Fast with Basic Stitches
This arm scarf crochet project uses just two beginner-friendly stitches throughout:
- Single crochet (sc) — used in the sleeve cuffs for a snug, ribbed look
- Half double crochet (hdc) or the lemon peel stitch — used in the body for texture and warmth
The lemon peel stitch (alternating single crochet and double crochet) sounds fancy, but it’s genuinely one of the easiest textured stitches in crochet. Once you get the rhythm, your hands will move almost on autopilot.
Incredibly Versatile — Wear It 4 Ways
Here’s something most basic scarf patterns can’t offer: four completely different looks from one piece. More on that in the styling section below.
What You’ll Need Before You Start
Yarn and Hook Recommendations
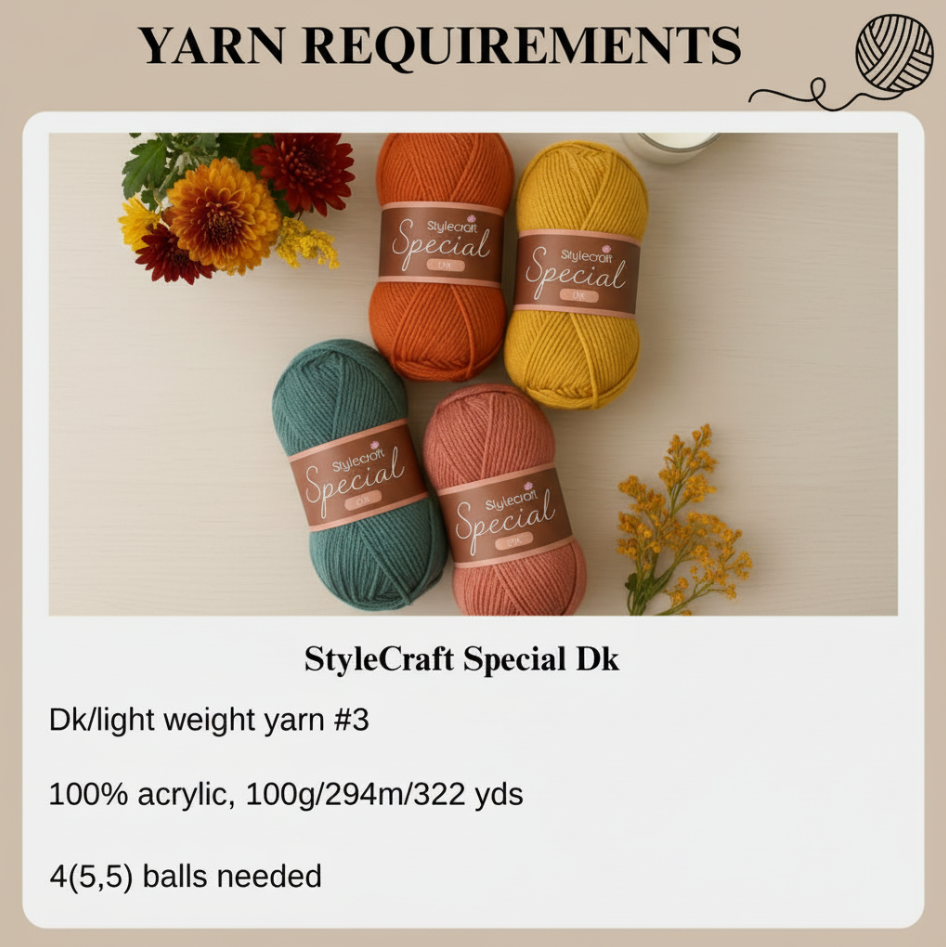
For your first scarf with sleeves, go with a worsted weight yarn (category 4). It’s widely available, affordable, and creates a fabric that’s warm without being too heavy. Great beginner-friendly options include:
- Lion Brand Wool-Ease (a beloved acrylic-wool blend, available in dozens of colors)
- Red Heart Super Saver (budget-friendly and very durable)
- Any soft worsted weight acrylic or acrylic blend
How much yarn do you need? For a standard adult size (approximately one size fits most), plan for around 800–1,100 yards (730–1,000 meters). Plus-size versions may require up to 1,350 yards.
Hook size: A 5mm (H/8) hook is a great starting point for worsted weight yarn. Check your yarn label — it will suggest a hook size, and that’s always a reliable guide.
You’ll also need:
- Scissors
- Yarn needle (for weaving in ends and seaming the sleeves)
- Stitch markers (optional, but very helpful for marking sleeve sections)
- A measuring tape
Beginner Stitches Used in This Pattern
Before you cast on, make sure you’re comfortable with:
- Chain stitch (ch)
- Single crochet (sc) and single crochet in back loop only (sc blo)
- Double crochet (dc)
- Slip stitch (sl st) — for seaming the sleeve cuffs at the end
If you need a refresher on any of these, Crochet.com’s free beginner stitch tutorials are a great resource to bookmark.
Scarf with Sleeves Crochet Pattern — Step by Step
Finished measurements (adult one-size):
- Total length: approximately 96–102 inches (244–259 cm)
- Width: approximately 14–16 inches (36–41 cm)
- Sleeve circumference: approximately 11–13 inches (28–33 cm)
Gauge: 14 sc × 16 rows = 4 inches (10 cm). Gauge is not critical for this pattern, but checking it will help you get a scarf that fits the way you expect.
Abbreviations:
- ch = chain
- sc = single crochet
- sc blo = single crochet in back loop only
- dc = double crochet
- sl st = slip stitch
- rep = repeat
- st(s) = stitch(es)
- RS = right side
Step 1 — Create the First Sleeve
The scarf is worked in one long piece from sleeve to sleeve, so you’ll begin with the first cuff.
Chain 21.
- Row 1 (RS): Sc in 2nd ch from hook and in each ch across. Turn. [20 sts]
- Rows 2–24: Ch 1, sc blo in each st to last st, sc in both loops of last st. Turn. [20 sts]
The single crochet in back loop only creates a beautiful, stretchy ribbed texture — perfect for a snug cuff. Working both loops on the final stitch of each row gives your sleeve a clean, finished edge.
After Row 24, do not fasten off.
Step 2 — Work the Body (Arm Scarf Crochet Section)
Now you’ll pivot and work the long body of the scarf along the edge of the sleeve you just made. This is where the lemon peel stitch comes in.
Joining the body to the sleeve:
Along the long edge of the sleeve, work 1 sc into each row end across — you should have approximately 24 sts along the edge. Chain 1, turn.
Body pattern — Lemon Peel Stitch:
- Row 1: Ch 1, *sc in next st, dc in next st; rep from * across. Turn.
- Row 2: Ch 1, *dc in next sc, sc in next dc; rep from * across. Turn.
Repeat Rows 1 and 2 until the body measures approximately 68–72 inches (173–183 cm) in length, or your desired body length.
Pro tip: Lay your work flat and measure from the center back of your neck to your wrist to determine a custom body length. Then double that measurement and subtract the two sleeve lengths.
Step 3 — Create the Second Sleeve
Once the body is complete, you’ll mirror the first sleeve on the opposite end.
Along the final row edge of the body, pick up stitches to begin the second cuff:
- Row 1: Ch 1, sc in each row end across the edge. Turn. [20 sts]
- Rows 2–24: Ch 1, sc blo in each st to last st, sc in both loops of last st. Turn.
Fasten off after Row 24, leaving a 12–15 inch (30–38 cm) tail for seaming.*
Step 4 — Seam and Finish
Almost done! Now you’ll fold each sleeve cuff and seam it closed to form a tube.
- Fold the first sleeve in half lengthwise (right sides facing each other).
- Using the yarn tail and a yarn needle, whipstitch or slip stitch the short edges of the sleeve cuff together. Pull snugly enough for a secure seam, but not so tight that a hand can’t slide through comfortably.
- Repeat for the second sleeve.
- Weave in all ends securely.
Tip from the community: Before seaming, slip your hand inside to test the fit. If it’s too tight, you can rip back a few rows and add more rows to your sleeve width. Better to check now than after seaming!
Beginner Mistakes to Avoid
Even the simplest patterns have a few common trip-ups. Here’s what to watch out for:
Skipping the gauge swatch. It’s tempting to skip this step, but a small difference in tension can result in sleeves that are too tight to get your arm through — or so loose they fall off. Take 10 minutes to swatch. Future you will be grateful.
Losing track of your sleeve section. When transitioning from the sleeve to the body, it’s easy to lose count. Place a stitch marker at the first and last stitch of the sleeve section so you always know where the ribbing starts and ends.
Forgetting to check sleeve circumference. Before seaming, hold the folded sleeve up and measure the circumference. The average adult wrist-to-forearm needs about 11–13 inches. Adjust by adding or removing rows before you close the seam.
Crocheting too tightly. Beginners often grip yarn and hook quite firmly, which results in stiff fabric and tight tension. Consciously try to loosen your grip — the stitches should slide along your hook with ease.
How to Wear Your Scarf with Sleeves (4 Stylish Ways)
One of the biggest selling points of a sleeved scarf free pattern like this one is how many ways you can style it. Here are four looks to try:
- Classic scarf: Leave the sleeves hanging at your sides and drape the body around your neck like a traditional scarf. Wrap once or twice for extra warmth.
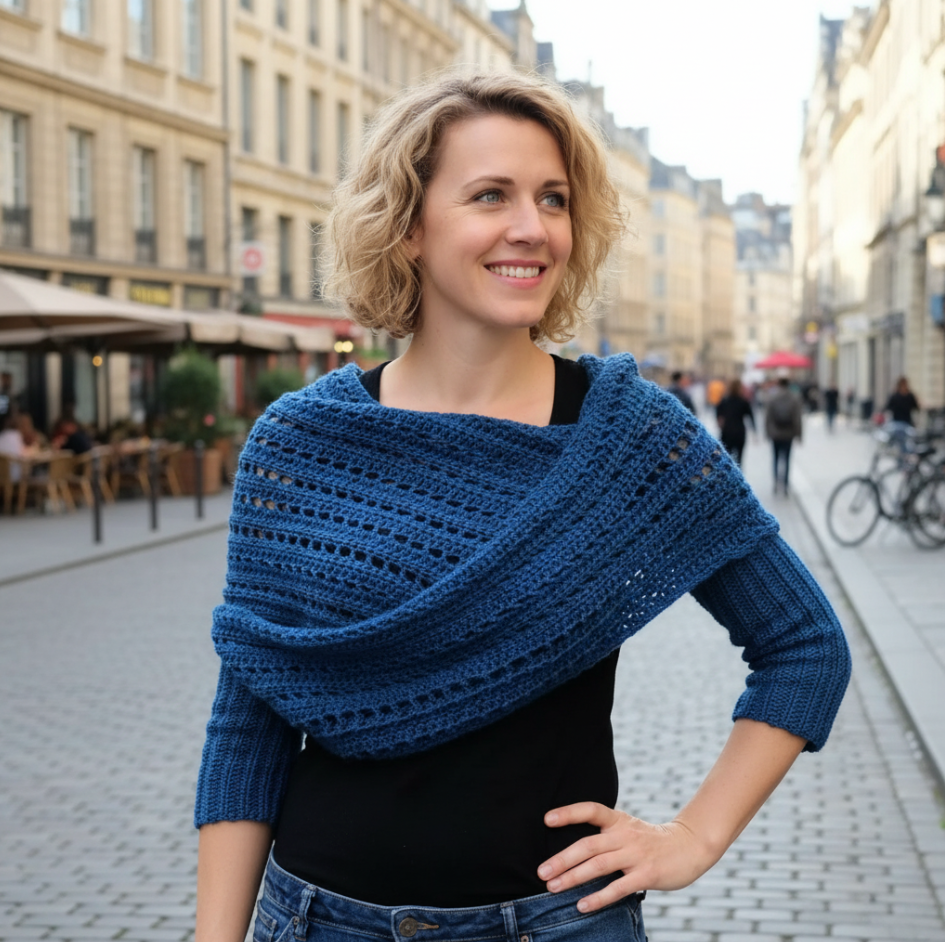
- Sweater wrap: Slip both arms into the sleeve openings and pull the scarf down to sit across your shoulders. The body hangs in the back for a relaxed, layered look.
- Cozy shawl: Drape the body over your shoulders with the sleeves hanging in front. Cross the sleeves over your chest and tuck them into a belt or the body of the scarf to hold everything in place.
- Front-cross style: Wrap the body around your front instead of your back, insert your arms through the sleeves, and let the body hang in the front like a statement bib. Great for cold restaurants or movie theaters where you just need a little extra warmth.
Frequently Asked Questions
Can I use bulky yarn for this pattern? Absolutely. Bulky weight yarn (category 5 or 6) will make the scarf work up much faster and feel extra plush. Use a larger hook (6.5mm–9mm depending on your yarn) and adjust your starting chain and row count to match the finished measurements above.
What if the sleeves are too tight after seaming? Rip back the seam and add extra rows to the sleeve section before re-seaming. Adding 4–6 rows will give you approximately 1 extra inch of circumference.
Can I make this pattern in multiple colors? Yes! Stripes are a beautiful option. Simply change colors at the end of any row by pulling the new color through the final two loops of the last stitch in the row. Carry the unused color loosely along the edge or cut and weave in ends after each stripe.
Is there a free crochet scoodie pattern similar to this? A scoodie (scarf + hoodie) is a different but equally fun beginner project. It typically starts with a hood at the center and extends into scarf tails on each side. It doesn’t have sleeves, but it has a similar level of difficulty and works up at a similar pace.
How do I wash my finished scarf with sleeves? This depends entirely on your yarn. Check the label — most acrylic yarns are machine washable on a gentle cycle. Wool and wool blends often require hand washing or a delicate cycle in cold water. Always lay flat to dry to preserve the shape.
Final Thoughts
A scarf with sleeves crochet pattern is genuinely one of the best first “garment” projects for anyone new to crochet. It teaches you how to work in rows, how to pick up stitches along an edge, and how to do a basic seam — all skills that will serve you for years. And unlike a lot of beginner projects, the finished piece is something you’ll actually want to wear every day.
Grab your yarn, find a comfortable spot, and enjoy the process. And once you’re done, don’t forget to try it on all four ways — there’s always one style that surprises you.
Happy crocheting!