
You crocheted every part perfectly — so why does the finished doll look wrong? The real culprit is almost always assembly.
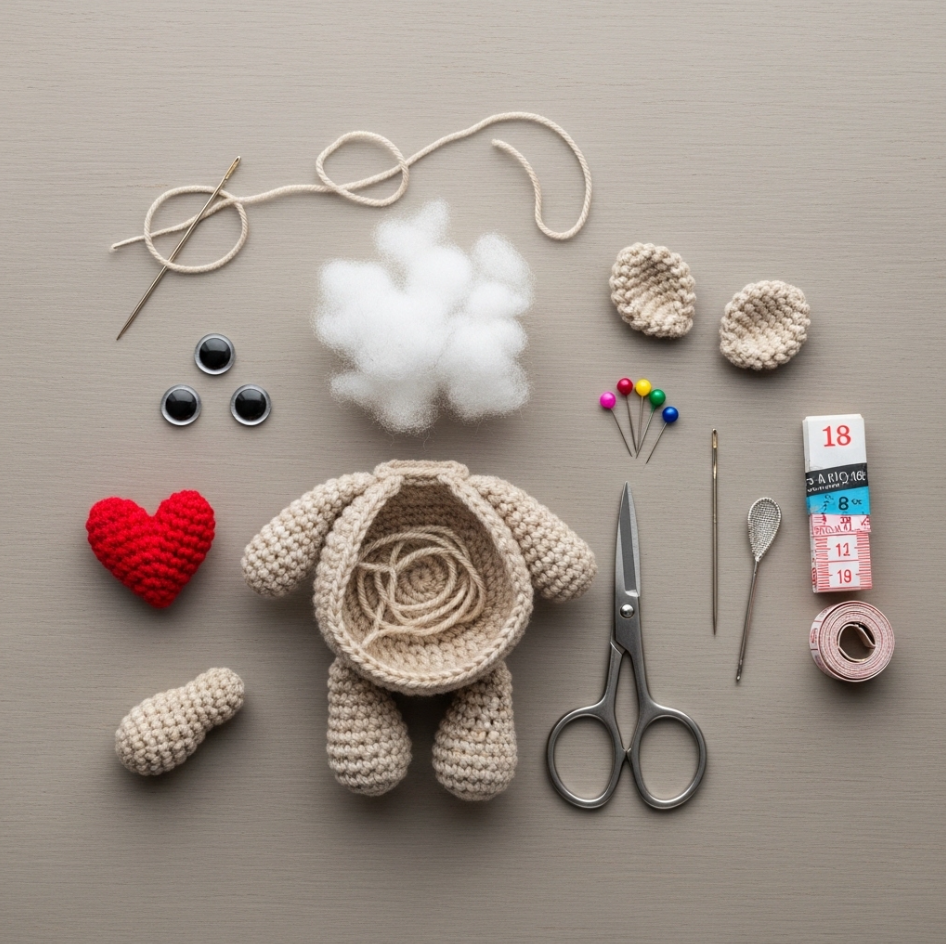
You spent three evenings crocheting the pieces. Each arm is the right number of rounds. Each leg is stuffed firmly. The head is a perfect sphere. You lay them all out on the table and feel proud — until you sew them together, and the doll looks like it lost a fight. The head lolls. The arms point in different directions. The face somehow looks nervous.
Most tutorials will tell you the crochet part is the hard part. They are wrong. The hard part — the part nobody talks about seriously — is assembly. The sewing, the positioning, the jointing. This is where perfectly crocheted parts become a beautiful finished toy, or become something you hide in a drawer.
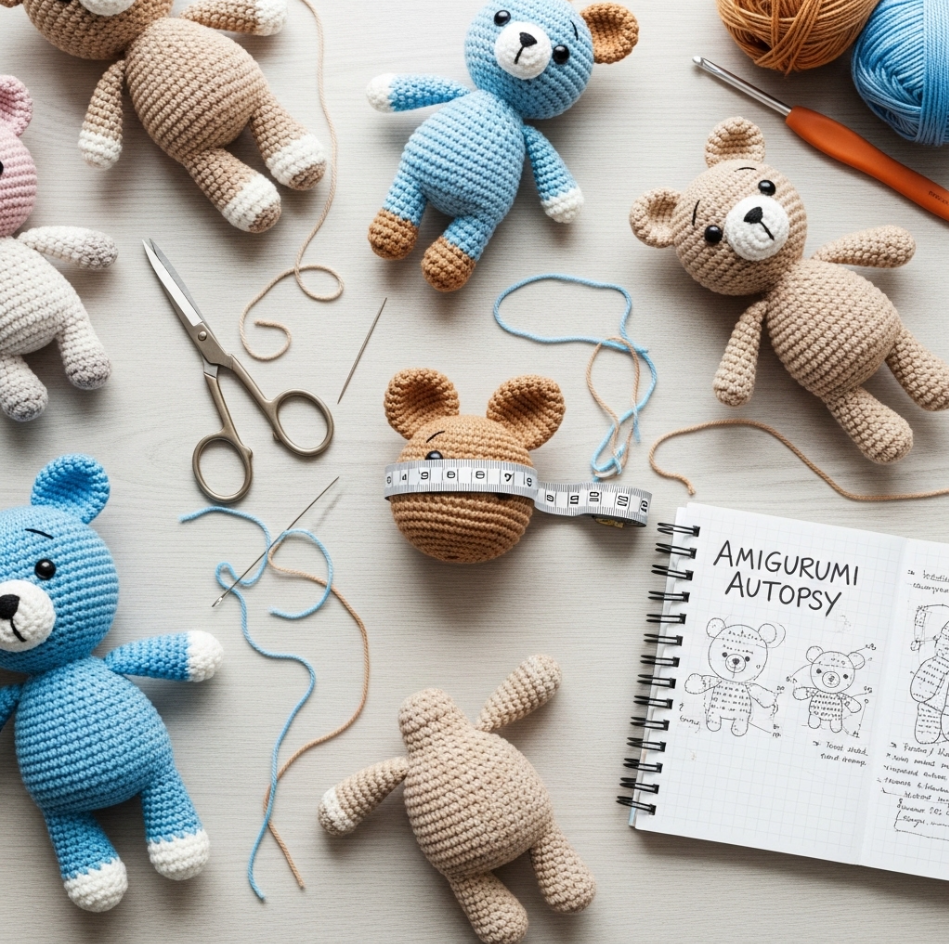
After years of making amigurumi and watching beginners struggle, I want to perform an honest autopsy on the sewing-and-finishing stage. We’re going to look at the real, invisible reasons your doll looks wrong even when the individual pieces are right.
THE “COMPLETED PARTS” PARADOX: WHY GREAT PIECES MAKE A TERRIBLE WHOLE
The fundamental misunderstanding of amigurumi assembly is treating it like plugging USB cables into a hub. Each part is finished; you just need to connect them. This is deeply wrong. Assembly is not connection — it is composition.
Think of the amigurumi body as a skeleton. When you sew the head to the body, you are setting the posture, the attitude, and the personality of the doll forever. Tilt the head two millimeters to the left, and it looks curious. Tilt it forward by one row, and it looks shy. Tilt it back, and it looks alarmed. None of this is written in the pattern because the pattern cannot know what your particular tension produced.
The parts are not LEGOs. They are clay. And assembly is the final sculpting.
The Three Invisible Alignments
Every assembly has three axes of alignment: the vertical axis (is the part level?), the rotational axis (is the part facing forward?), and the depth axis (is the part flush with the body, or protruding at an angle?). Most crocheters only think about the vertical. They pin the arm on and check if it’s too high or too low. They never check if the arm is twisted, or if it’s angled away from the body. And then they wonder why their doll looks like it’s shrugging.
[ Diagram: Three axes of limb alignment — vertical position, rotational angle, depth angle ]
AUTOPSY FACTOR #1: THE SEAM YARN MISMATCH AND WHY IT CREATES VISIBLE SCARS
Factor One
The first cause of a bad-looking finished doll is deceptively simple: using the wrong yarn for seaming. Most people use the yarn tail left from finishing the piece. This is convenient. It is often disastrous.
When you crochet a piece, the yarn on the surface of the fabric lies at an angle — it follows the stitch structure. Seaming yarn, by contrast, is threaded straight through the loops. If your yarn is textured, fuzzy, or has any halo (like a mohair-blend), it will snag on the loops instead of sliding through them. This bunches the fabric at the seam point, creating a small pucker. Multiply this by thirty stitches of sewing and you get a visible scar where the limb meets the body.
The Thread Weight Problem
The second invisible mistake is sewing with the same weight yarn you crocheted with. Amigurumi fabric is thick and dense. Running a full-weight yarn through it repeatedly compresses and distorts the surrounding stitches. Experienced makers use a yarn one or even two weights lighter than their project yarn for seaming — the seam holds just as strongly (often more strongly, since finer yarn knots more tightly), but it leaves no surface impression.
Pro Tip from Patricia “I always keep a spool of fine crochet thread — the kind used for doilies — in the same color family as my project. I use this for all seaming. It disappears completely into the fabric and never creates a visible scar. The structural integrity is identical to seaming with the full yarn; knot tension does all the work, not the yarn weight.”
Table 1: Seaming Yarn Diagnostics — What’s creating your visible seams
| Visual Problem | Invisible Cause | The Fix |
|---|---|---|
| Visible ridge around the arm base | Seaming with full-weight yarn; each pass compresses surrounding rows | Seam with yarn 1–2 weights lighter in matching color |
| Fuzzy “halo” at the sew point | Mohair or fluffy yarn snagging instead of sliding through loops | Use smooth cotton thread for seaming, even on fuzzy projects |
| Puckered “dimple” on the body | Seaming too tightly — pulling the thread until the body fabric distorts | Tension only enough to hold the part flat; the stuffing holds the shape |
| Lopsided arm that won’t hang straight | Seaming started at wrong stitch — not the true center of the last round | Always count to the exact center of the piece’s closing round before the first stitch |
AUTOPSY FACTOR #2: THE “MAGIC RING SCAR” AND HOW IT ANCHORS LIMB PLACEMENT
Factor Two
[ Close-up: Magic ring closure on an amigurumi arm, showing the orientation of the closing tail ]
Every amigurumi part begins with a magic ring. When you close that ring and work your first round, you create an internal structure — a small, tight knot at the “top” of the piece. This knot is not decorative. It is a structural anchor, and it tells you exactly how the piece needs to be oriented.
The magic ring scar — the slight indentation where the ring was closed — must always face a specific direction. For arms, it should face inward, toward the body, so that the closed end is hidden against the torso. For legs, it should face backward, so the bottom of the foot lands flat. If you sew a leg with the magic ring scar facing forward, the foot naturally angles upward at the toe, making the doll look like it’s trying to tip-toe.
The Invisible Rotation Error
Most sewers pin the limb in place by eyeballing it from the front. This catches the vertical position but completely misses the rotation. A limb rotated even twenty degrees off-axis will look anatomically wrong — the thumb of a hand might point backward, or the knee of a leg might point sideways. Before you take a single stitch, hold the doll at arm’s length and look at it from directly above. Rotate the limb until it looks natural from that angle, then pin it. Only then look from the front to adjust height.
The Pin Protocol “Use at least four pins when placing any limb: one at the top, one at the bottom, and one on each side. Two pins is the most common mistake — it lets the piece pivot. Four pins lock the rotation. I do not take my first stitch until all four pins are in and the piece looks correct from three angles: front, top, and side.”
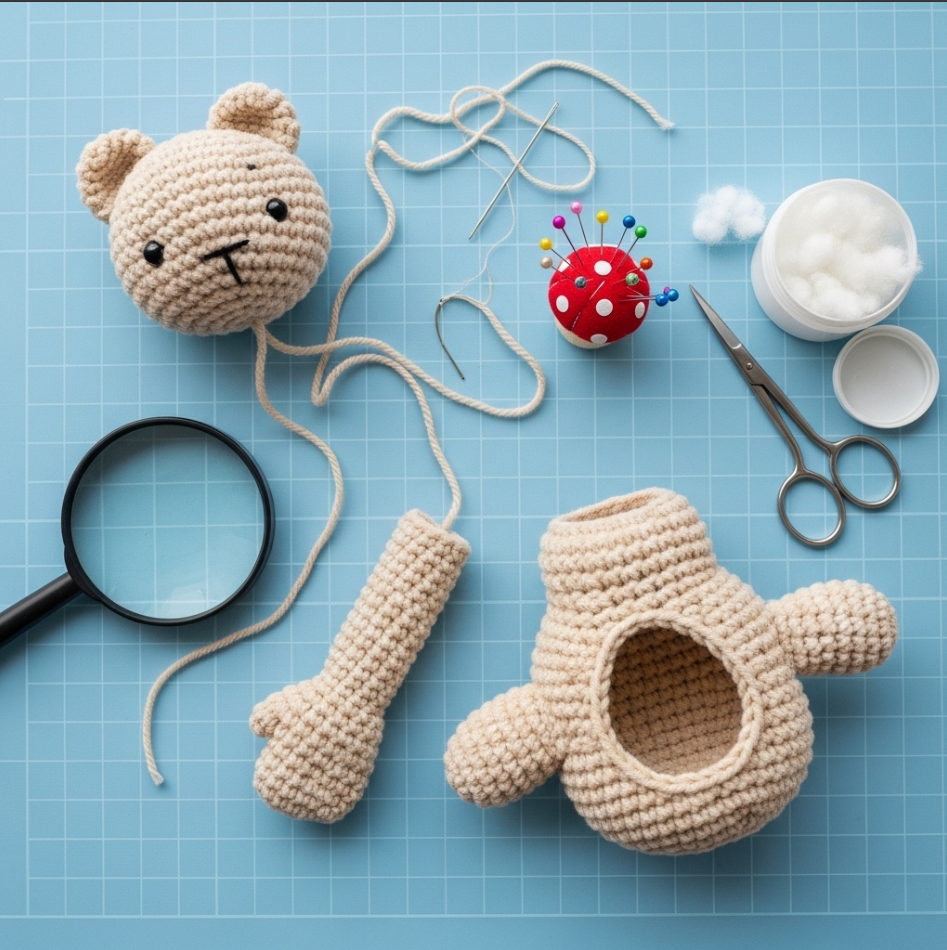
AUTOPSY FACTOR #3: HOW STUFFING THE NECK CHANGES THE WHOLE BODY SILHOUETTE
Factor Three
The neck is not a part — it is not crocheted separately, and it is not stuffed separately. It is a transition zone. And how you handle this transition zone determines the entire silhouette of your doll. This is the most underrated factor in amigurumi anatomy.
Here is what typically happens: a crocheter stuffs the body firmly, stuffs the head firmly, and then sews them together. The result is two hard spheres stacked on top of each other, like a snowman. The neck, caught between them, has no internal support — it is just layers of yarn sandwiched between two stuffed units. The head wobbles. It tilts. It cannot hold a position.
The Internal Neck Architecture
Professional makers create internal neck architecture. Before the head is closed, a small, very firm ball of polyfill — rolled tightly until it is almost solid — is inserted at the base of the head, at the point where it will meet the neck decrease rounds. This creates a dense, rigid base. When the head is sewn to the body, this dense base presses against the body and creates a physical “seat” that holds the head in position like a ball-and-socket joint.
For larger dolls, a cardboard or plastic disc cut to fit inside the neck can serve the same purpose — it distributes the weight of the head across the full circumference of the neck join, preventing any single point from bearing all the stress.
Table 2: Neck & Head Join — Structural Approaches by Doll Size
| Doll Size | Head Weight Issue | Recommended Internal Structure | Result |
|---|---|---|---|
| Mini (<8cm tall) | Head is naturally light; rarely a structural problem | Dense polyfill base at head, no special support needed | Stable; head will hold position |
| Standard (8–15cm) | Head may wobble after repeated handling | Compressed polyfill “plug” at the head base; optional button joint inside | Poseable; slight wobble acceptable for soft toys |
| Large (>15cm) | Head is heavy; sewing joint alone will not hold long-term | Plastic safety joint (button joint) or internal cardboard disc + dense stuffing | Rigid; head will not move, which is ideal for display dolls |
THE “EMOTIONAL EXPRESSION” ERROR: HOW LIMB ANGLE CREATES CHARACTER
Factor Four
This is the factor that separates a competent amigurumi from a character. Limb angle is not just structural — it is emotional. The angle at which an arm is sewn determines whether a doll looks welcoming, surprised, defeated, or proud. And yet almost every beginner sews the arms straight out to the sides, parallel to the ground, because that is the easiest position to sew.
Straight-out arms make a doll look like it is being frisked. Slightly downward-angled arms (the hands pointing at about 4 o’clock and 8 o’clock positions) make the doll look relaxed and friendly. Arms angled slightly forward — protruding from the body at a slight angle away from the flat side-plane — make the doll look three-dimensional and alive, as though it is reaching toward you.
The Expression Grid
Before you sew a single limb, decide on the emotional expression of your doll. Is it curious? Sleepy? Excited? Map the emotion to a physical posture, then execute that posture deliberately through your limb placement. A doll with arms slightly raised and head angled down reads as “shy.” A doll with arms low and head slightly back reads as “confident.” These decisions are made in the final fifteen minutes of a project that took fifteen hours — do not rush them.
[ Diagram: Four arm angle positions and the emotional character each creates ]
The Photography Test “Before I sew a single limb permanently, I place the entire doll on a white sheet and photograph it with every part just pinned in place. I look at the photograph — not the actual doll. The camera flattens the image the same way a viewer’s eye will flatten it, and imperfections in proportion and angle become immediately obvious. I have rearranged pins three times in a single session based on the photos. It takes an extra ten minutes and saves hours of regret.”
CORRECTIVE SURGERY: FIXING A BAD ASSEMBLY WITHOUT TAKING IT APART
The autopsy is sometimes performed on a finished patient. You have sewn everything, it looks wrong, and you do not want to cut the yarn and start over. Here are the three most effective techniques for rehabilitating a badly assembled doll.
Method 1: The Re-Anchoring Stitch
If a limb is positioned badly but still structurally sound, you can add re-anchoring stitches. Using a long needle and matching yarn, you pass through the body from the opposite side, catch several stitches of the limb, and return through the body. Pulling this thread tight pulls the limb toward the body on one side, changing its angle. By adding two or three of these re-anchoring stitches at different points, you can rotate and reposition a limb by up to twenty degrees without removing it.
Method 2: The Padding Insert
If the head is tilting because the neck area has collapsed, you can fix it without reopening the seam. Thread a blunt needle with a length of yarn and, starting from an inconspicuous location (usually behind an ear or inside the back neckline), work the needle into the neck zone and weave several passes of yarn through the existing stuffing. This creates a denser core that props the head back into position. It sounds crude, but it works remarkably well.
Method 3: The Surface Anchor
For a head that tilts persistently forward, sew a few invisible stitches from the back of the head to the upper back of the body. These stitches, hidden under any hair or mane you add later, act like a physical brace — they hold the head upright without you being able to see the mechanism. This is one of those professional tricks that makes the difference between a doll that looks alive and one that looks tired.
FREQUENTLY ASKED QUESTIONS ABOUT AMIGURUMI ASSEMBLY
Why do my doll’s legs point in opposite directions after sewing?
This is a rotation error — the legs were sewn without checking their individual rotational alignment. Each leg must be individually rotated until the foot points forward before any stitches are placed. Because legs are cylindrical, it is easy for them to spin in any direction as you sew. Use four pins and check from above before committing to the first stitch.
My doll’s head is perfectly round but looks flat from the front — why?
This is a depth and viewing-angle issue. A sphere seen from the front has no natural “face plane” — the eyes and facial features float on a curved surface. If the safety eyes are placed correctly on the curve but the face lacks any depth variation (a slight indentation around the eye area, or a raised nose area), it will read as flat. Needle-sculpting a subtle eye socket — using a long needle to pull the eye area slightly inward — gives the face depth that reads correctly from the front viewing angle.
Can I reposition safety eyes after the washer is attached?
Effectively, no. The washer grips the shaft of the eye post, and removing it without breaking the post or the surrounding fabric is nearly impossible. This is why experienced makers always attach safety eyes before the piece is closed and stuffed — you have access to the inside and can check placement from both sides. If you have already attached the eyes and they are wrong, the only clean solution is to cover them (with embroidered felt pupils or a small yarn circle) or to treat the doll as a practice piece.
Why does the join between the head and body look lumpy even when I stitch carefully?
The lumpiness usually comes from catching uneven layers as you seam. When you sew the head to the body, you are passing through the closing tail of the head piece, several rows of body fabric, and possibly the yarn you left for seaming. All these layers bunch differently. The solution is to flatten the closing edge of the head as completely as possible — use the tip of a needle to tuck the tail invisibly before you begin seaming. A smooth, flat closing edge seams neatly; a raised, knotted one will always create a ridge.
Is there a quick way to tell if my limb placement will look balanced before I sew?
Yes — the mirror check. Hold the doll up to a mirror with the pinned limbs in place, then look at the reflection. Your brain processes the reflection as a different image, and asymmetry that your eyes have “trained” to ignore suddenly becomes obvious. This is the same technique portrait painters use to catch imbalances in facial features. It takes three seconds and has saved many of my projects from asymmetric limbs.
Conclusion
The crochet part of amigurumi making is honest work — you count stitches, you increase and decrease, and the math either works or it does not. Assembly is different. Assembly is an art of judgment, of knowing when to look from above and when to look from the side, of understanding that the angle of an arm is not just structural but emotional.
The patterns cannot teach you this because the patterns cannot see your specific doll, with your specific tension and your specific proportions. What they can give you is the parts. What you must learn to give the doll is its life — and that life lives entirely in the final hour of assembly, in the placement decisions that transform a pile of crocheted cylinders and spheres into a character that seems to look back at you.
Take that final hour seriously. It is where the whole project either succeeds or quietly fails.
For to be the first know about our crochet pattern visit our Facebook Page
Visit our blog for more free crochet pattern